project // pi day felt pie pin New Update
project // pi day felt pie pin New Update - Hello friend y3ant.blogspot.com y3ant, In the article that you read this time with the title project // pi day felt pie pin New Update , we have prepared this article well for you to read and retrieve information in it. hopefully fill in the post
Artikel felt,
Artikel projects, what we write can you understand. OK, happy reading.
Judul : project // pi day felt pie pin New Update
link : project // pi day felt pie pin New Update
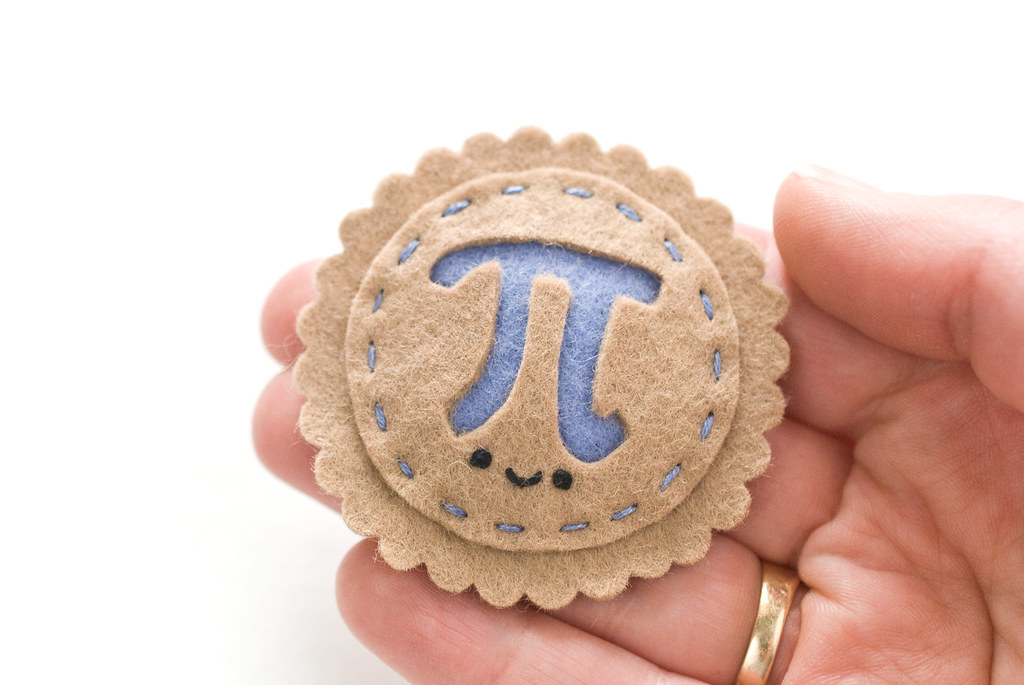
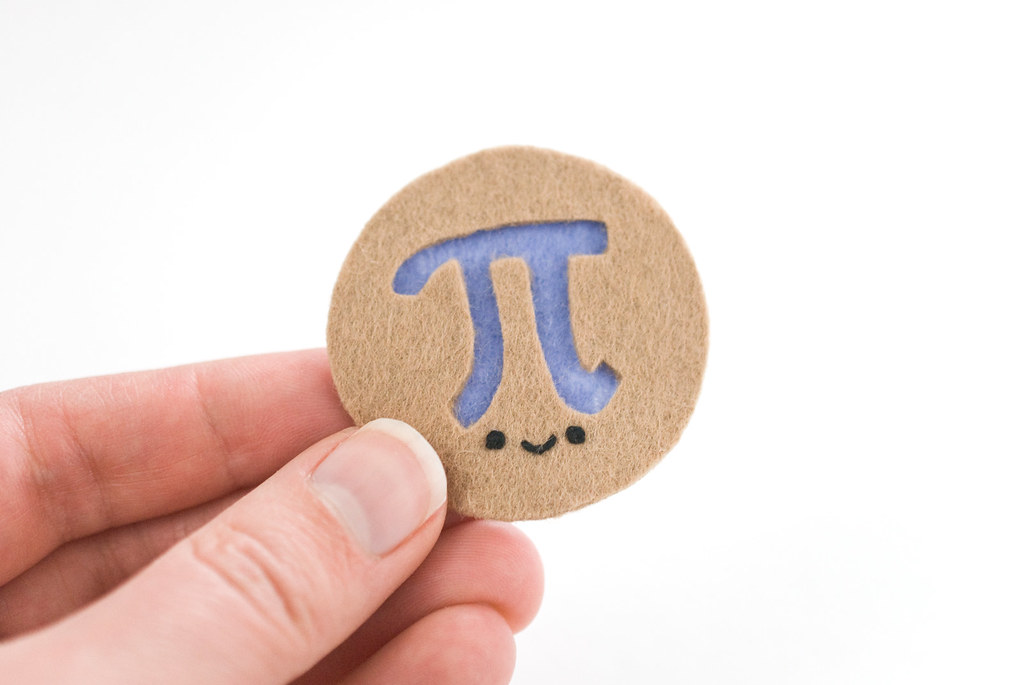
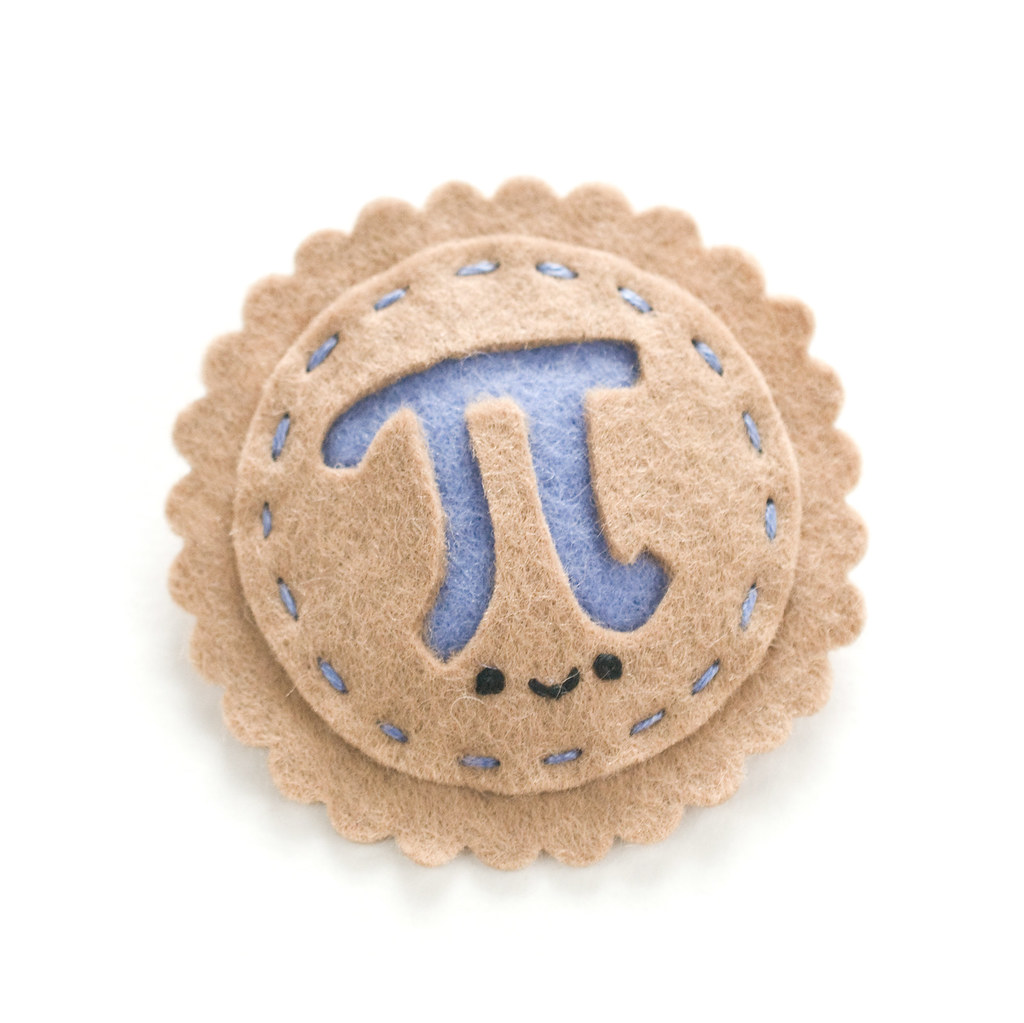
I love pie. I have a so-so relationship with pi, because math. But if pi day is March 14 (3.14) and that means pie, then I'm all for it. So I made a kawaii pi pie pin. And you can too!

I'm a little late in posting a Pi Day project, but I don't want to skip sharing this one year and risk forgetting it next year. Right? Plus, you don't have to make this with the symbol for pi on the top. Change that to a heart or some little vents in the crust, or any other design you like. It's fast and easy and a great way to show your love of pie, pi, or both!
You will need:
Tan felt (for crust)
Colored felt (for filling...choose your favorite flavor!)
Freezer paper
Pencil
Iron
Scissors
Pinking or scallop shears (optional)
Embroidery floss
Needle
Craft or fabric glue
Sew-on pin back
Pi Day Pin Pattern PDF
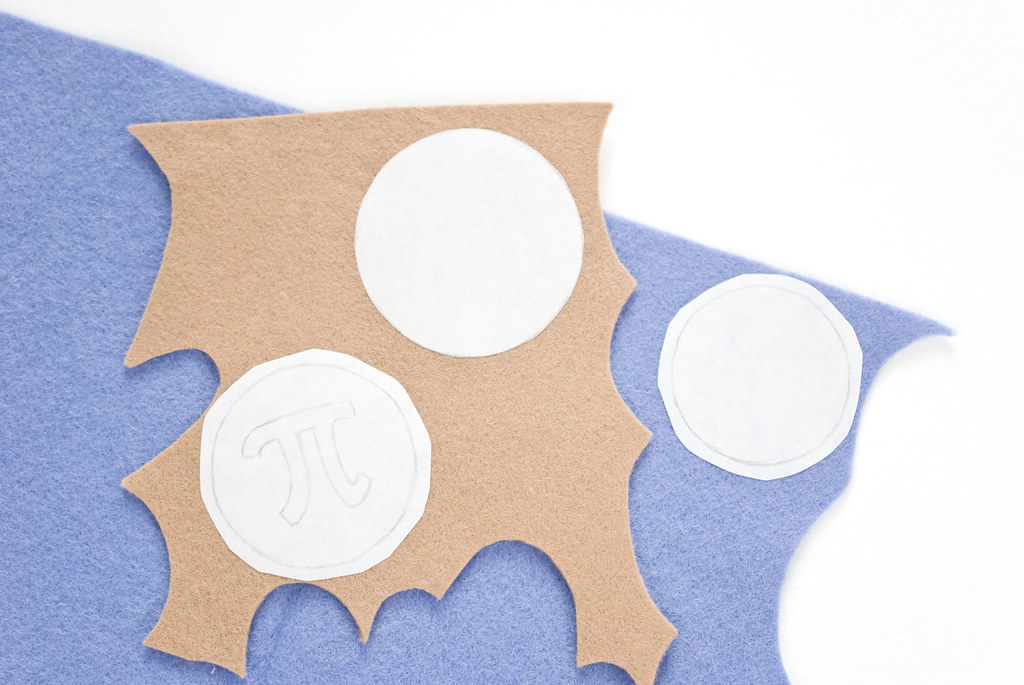
Trace the pattern pieces onto the freezer paper. Iron the crust pieces onto the tan felt and the filling piece onto the colored felt.
Note that on the pattern page there are two versions of the bottom crust, depending on what kind of scissors you're using. If you're using pinking or scallop shears it's helpful to cut the crust piece right on the line before ironing it to the felt.
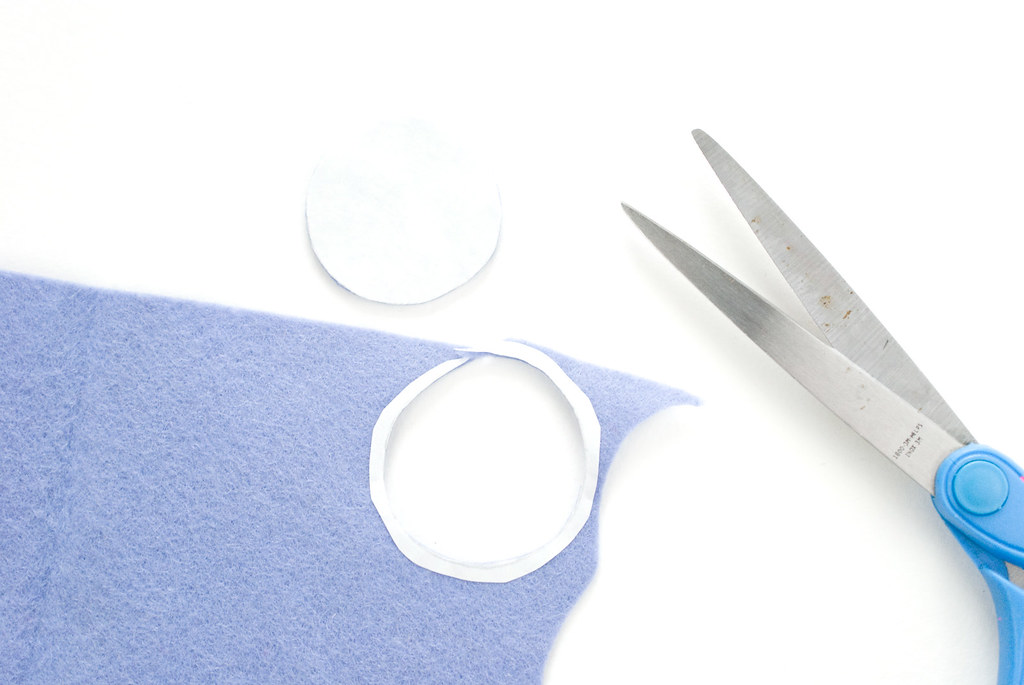
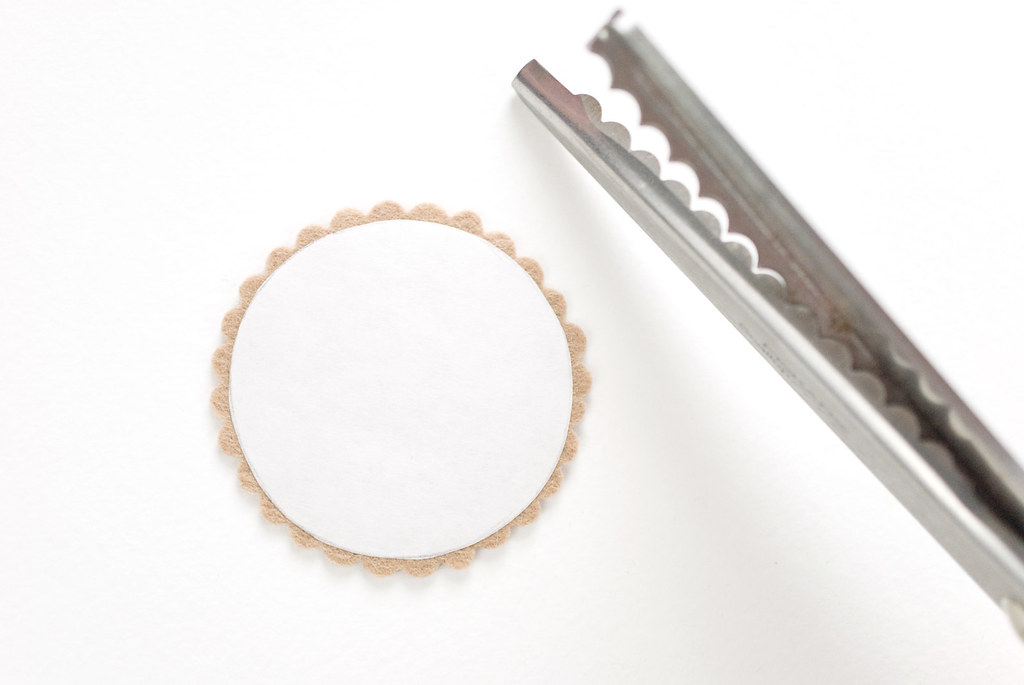
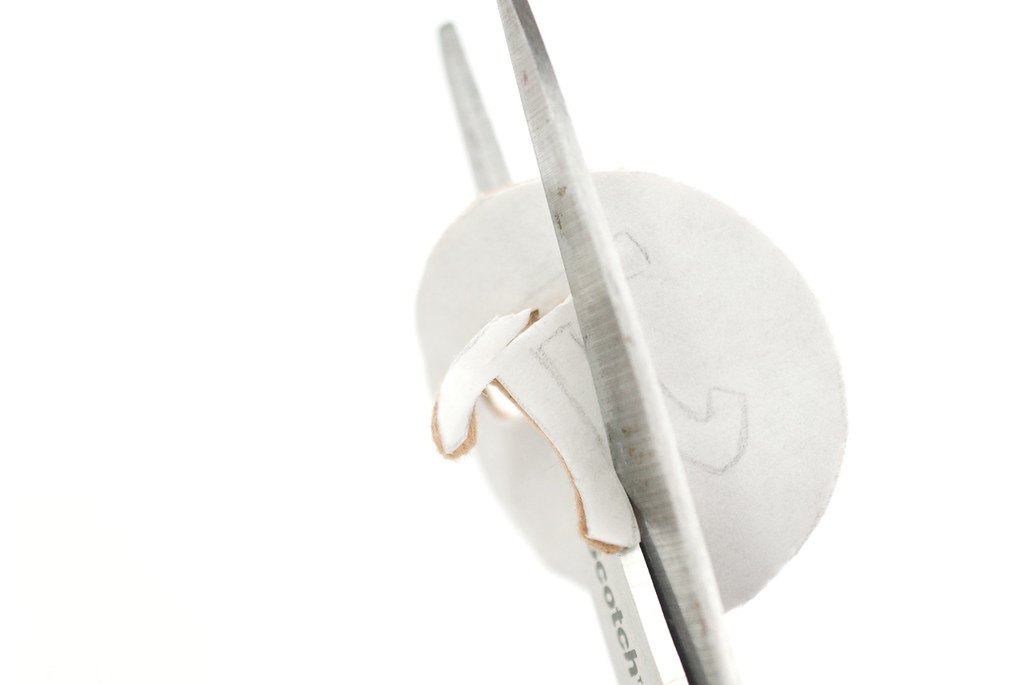
Cut out the three pieces. Cut around the filling and top crust with regular scissors. If you're using pinking or scallop shears, cut around the outside of the pattern piece. Carefully cut out the pi symbol from the top crust.
If the idea of cutting out that pi symbol terrifies you, first, don't worry. It's not so difficult. If you still don't believe me, consider embroidering the symbol instead!
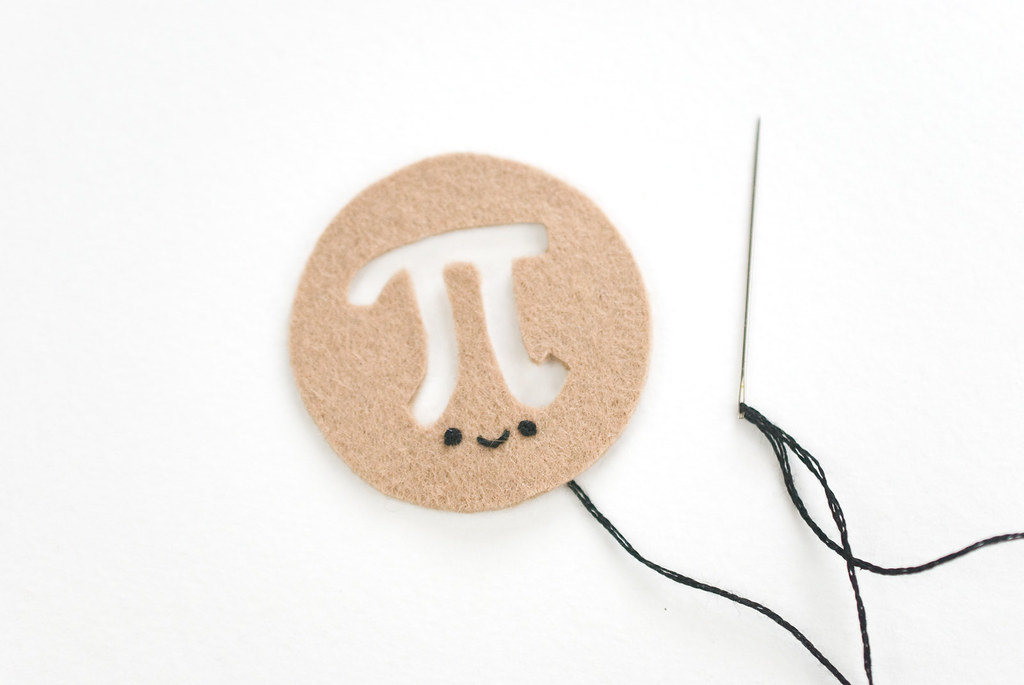
Embroider the face on the top crust with three strands of black embroidery floss.
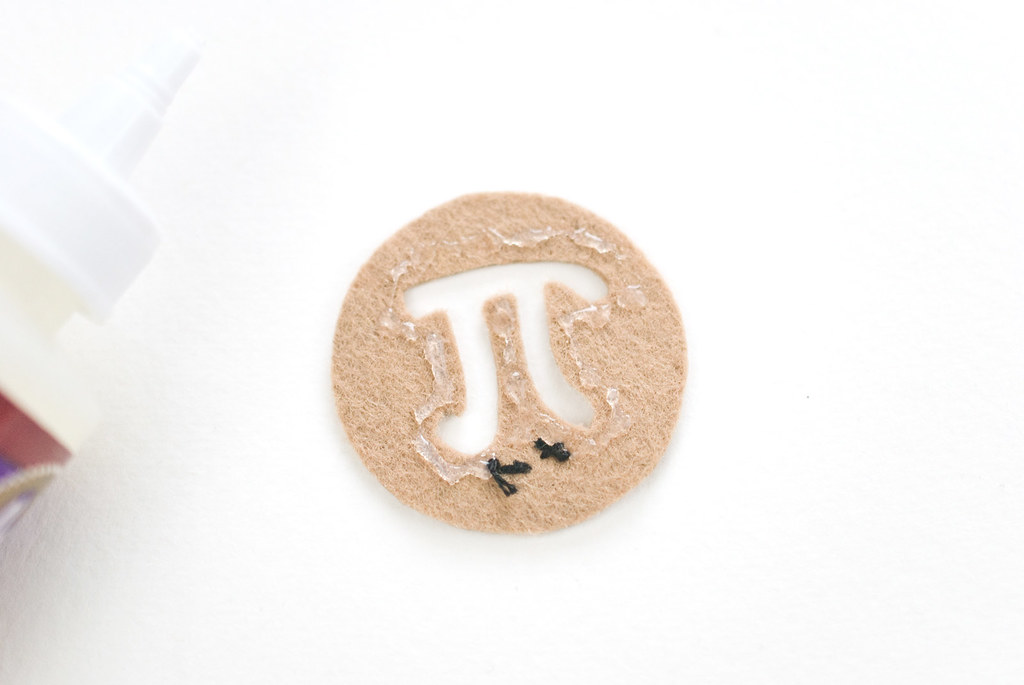
Run a small line of glue around the cut out edge of the pi symbol. Attach it to the filling circle.
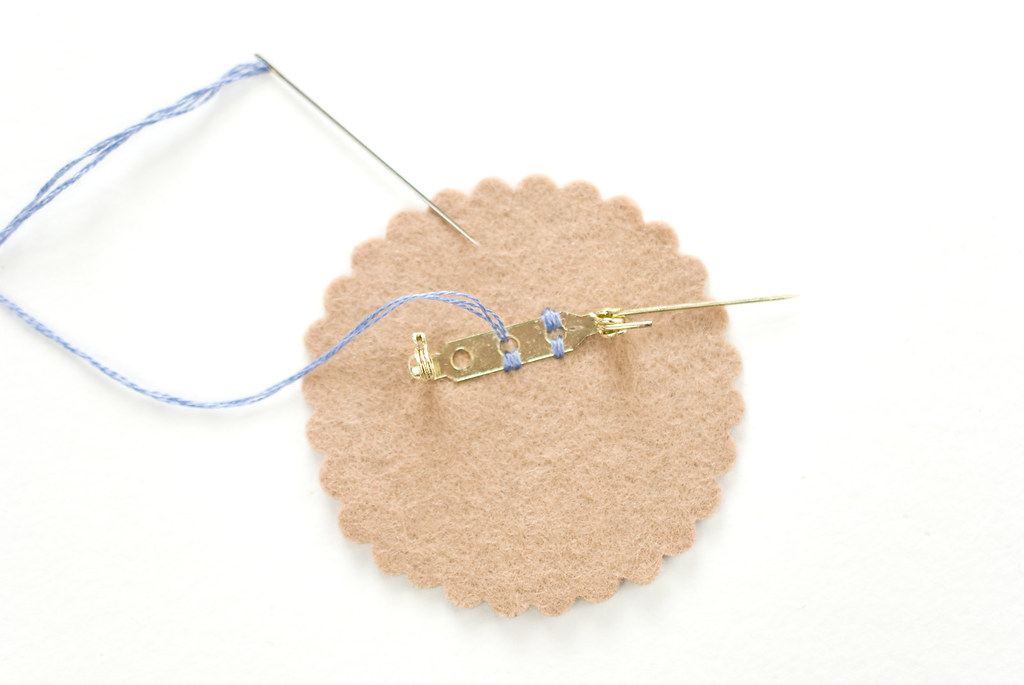
While the glue is drying, sew the pin back onto the back of the bottom pie crust. For this, I used thread that matches the pie filling. Just because it's cute. But you can use floss that matches the crust if you want.
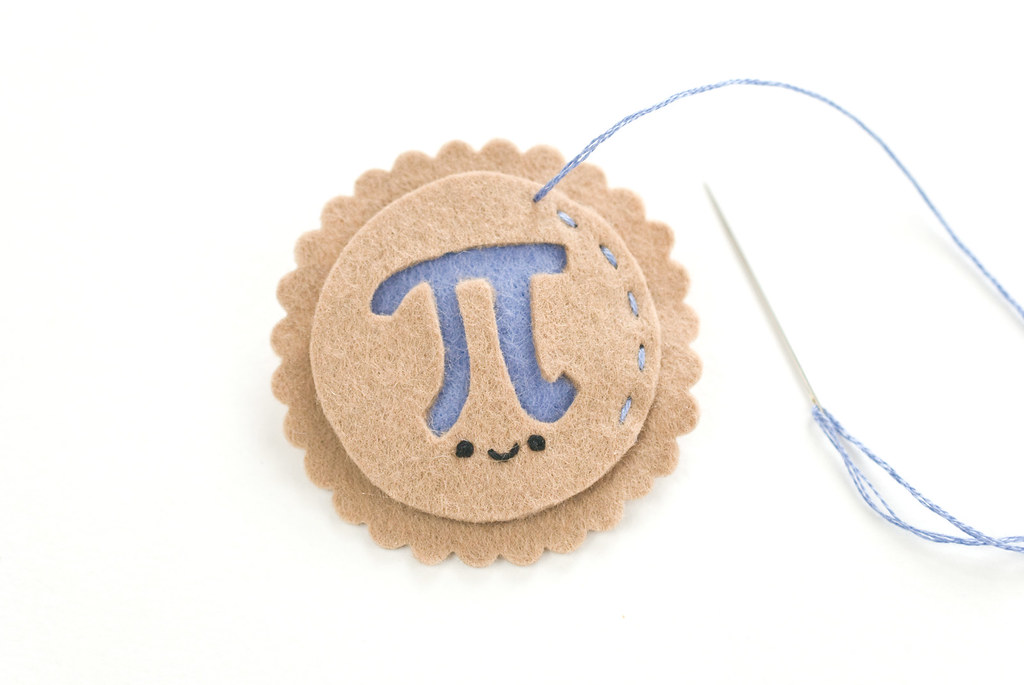
Now, stitch the top crust to the bottom crust with running stitch. Because the filling circle is a little smaller than the top crust, it gives the top just a bit of puff. Again, I went with filling-colored embroidery floss here.
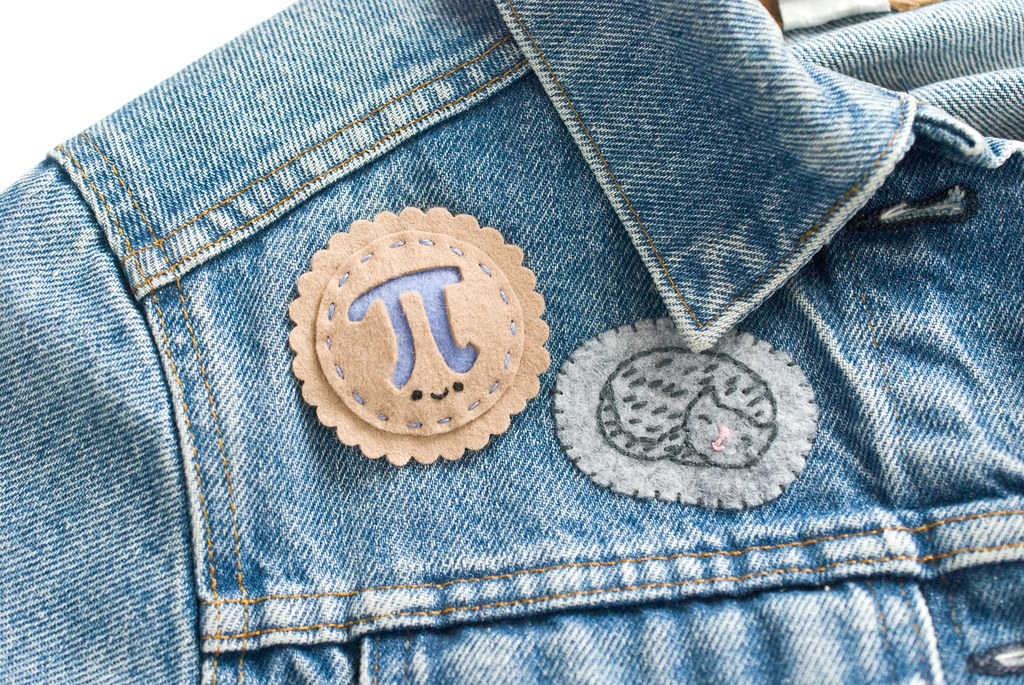
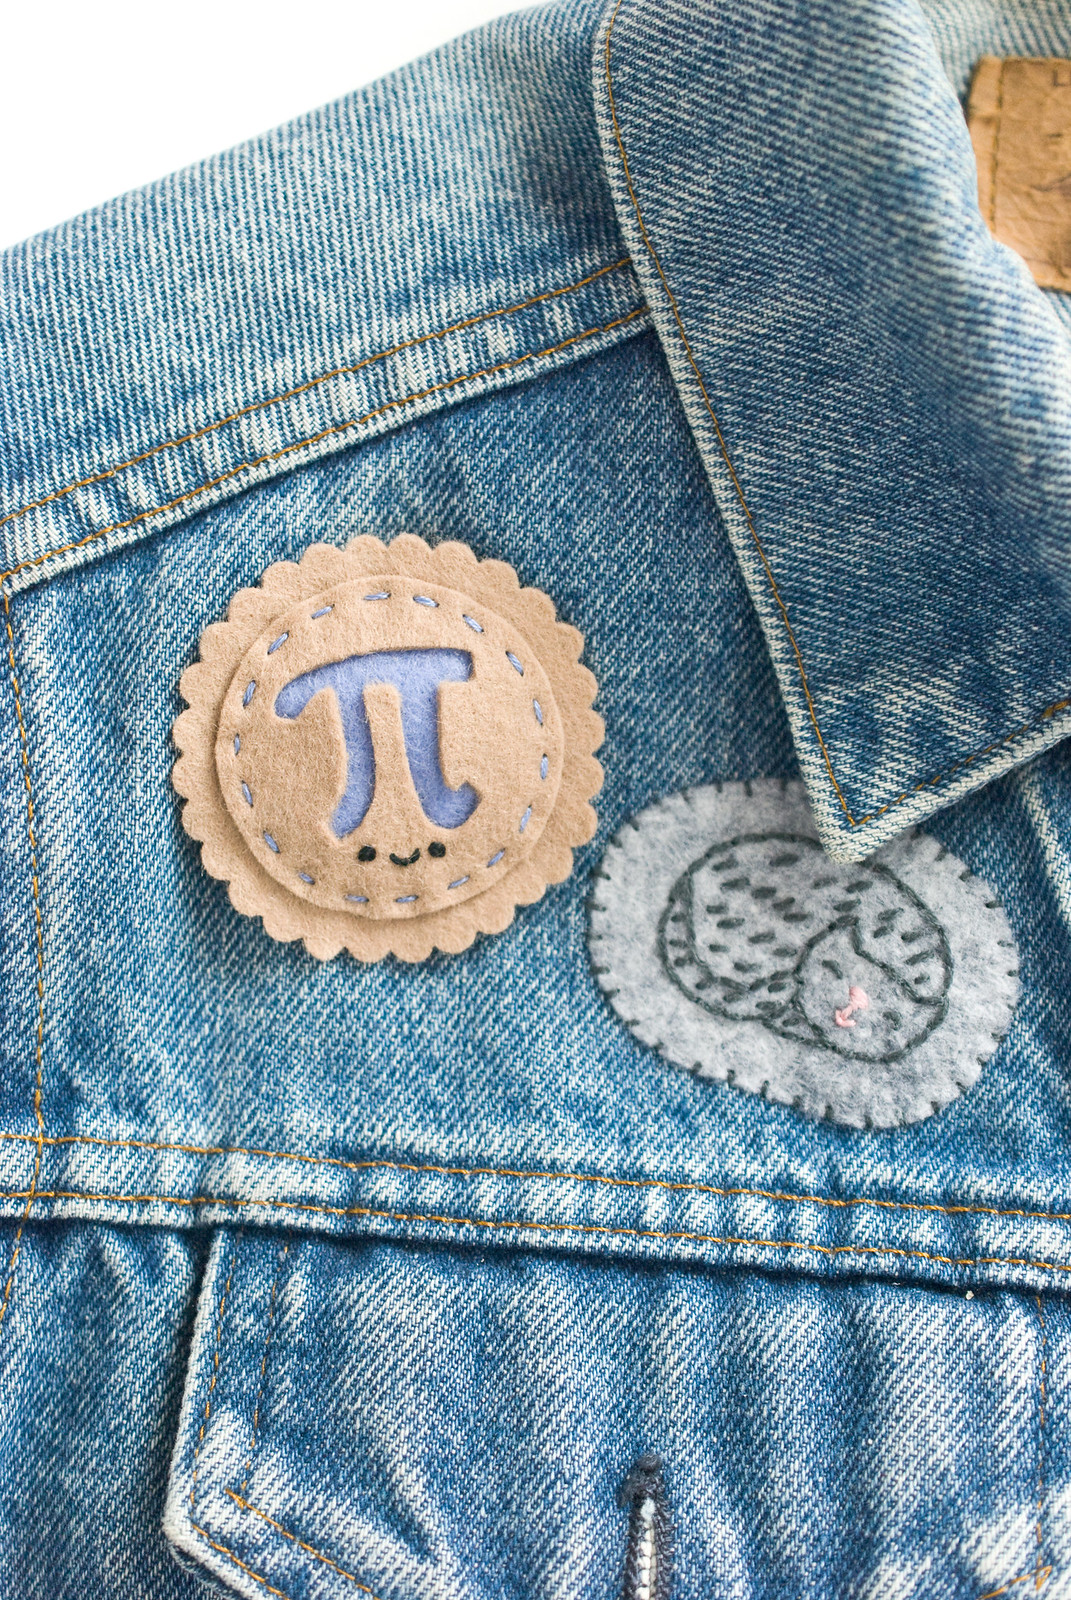
Your happy pi pin is ready to wear...on Pi Day or every day!
(by the way, the pattern for that sleepy kitty is free right here...)
You are now reading the article project // pi day felt pie pin New Update with the link address https://y3ant.blogspot.com/2017/03/project-pi-day-felt-pie-pin-new-update.html
Judul : project // pi day felt pie pin New Update
link : project // pi day felt pie pin New Update
project // pi day felt pie pin New Update
I love pie. I have a so-so relationship with pi, because math. But if pi day is March 14 (3.14) and that means pie, then I'm all for it. So I made a kawaii pi pie pin. And you can too!
I'm a little late in posting a Pi Day project, but I don't want to skip sharing this one year and risk forgetting it next year. Right? Plus, you don't have to make this with the symbol for pi on the top. Change that to a heart or some little vents in the crust, or any other design you like. It's fast and easy and a great way to show your love of pie, pi, or both!
You will need:
Tan felt (for crust)
Colored felt (for filling...choose your favorite flavor!)
Freezer paper
Pencil
Iron
Scissors
Pinking or scallop shears (optional)
Embroidery floss
Needle
Craft or fabric glue
Sew-on pin back
Pi Day Pin Pattern PDF
Trace the pattern pieces onto the freezer paper. Iron the crust pieces onto the tan felt and the filling piece onto the colored felt.
Note that on the pattern page there are two versions of the bottom crust, depending on what kind of scissors you're using. If you're using pinking or scallop shears it's helpful to cut the crust piece right on the line before ironing it to the felt.
Cut out the three pieces. Cut around the filling and top crust with regular scissors. If you're using pinking or scallop shears, cut around the outside of the pattern piece. Carefully cut out the pi symbol from the top crust.
If the idea of cutting out that pi symbol terrifies you, first, don't worry. It's not so difficult. If you still don't believe me, consider embroidering the symbol instead!
Embroider the face on the top crust with three strands of black embroidery floss.
Run a small line of glue around the cut out edge of the pi symbol. Attach it to the filling circle.
While the glue is drying, sew the pin back onto the back of the bottom pie crust. For this, I used thread that matches the pie filling. Just because it's cute. But you can use floss that matches the crust if you want.
Now, stitch the top crust to the bottom crust with running stitch. Because the filling circle is a little smaller than the top crust, it gives the top just a bit of puff. Again, I went with filling-colored embroidery floss here.
Your happy pi pin is ready to wear...on Pi Day or every day!
(by the way, the pattern for that sleepy kitty is free right here...)
This is the article project // pi day felt pie pin New Update
So many articles project // pi day felt pie pin New Update this time, hopefully it can benefit you all. OK, see you in another article.
You are now reading the article project // pi day felt pie pin New Update with the link address https://y3ant.blogspot.com/2017/03/project-pi-day-felt-pie-pin-new-update.html